
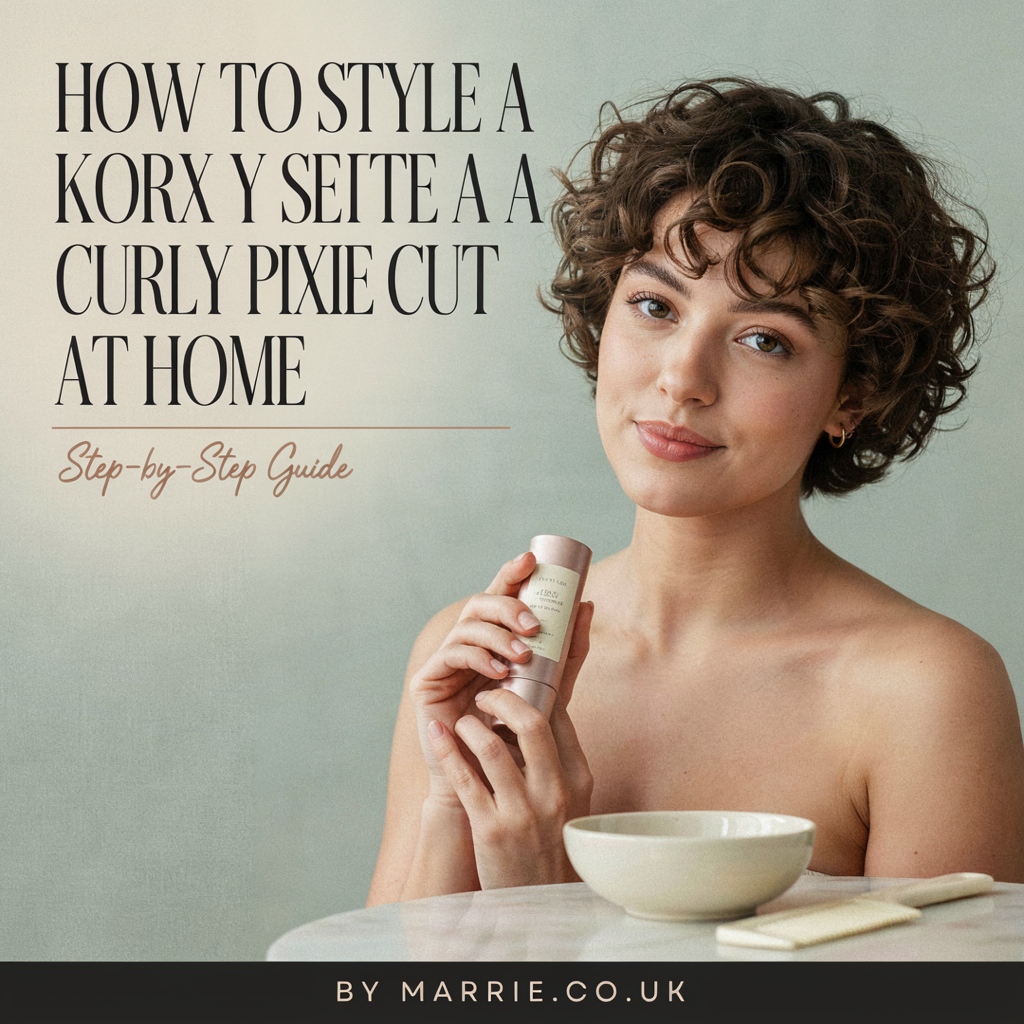
A curly pixie cut can look effortlessly stylish, but getting those curls to sit exactly where you want them isn’t always effortless.
Some mornings your curls may look defined and full of volume. On others, one side may be completely flat while the front seems determined to go in the wrong direction.
The good news is that styling a curly pixie at home doesn’t need to involve a complicated routine or a shelf full of products. Once you understand how much moisture your curls need, where to place your styling products and how to dry shorter curls without disturbing them, the process becomes much easier.
This step-by-step guide explains how to style a curly pixie cut at home, from freshly washed hair to refreshing your curls the following morning.
For more haircut inspiration, see our complete Short Curly Pixie Hairstyles guide.
What Do You Need to Style a Curly Pixie?
You don’t need everything listed below. Your routine should depend on your curl pattern, hair density and the finish you want.
A simple curly pixie styling kit might include:
- Gentle shampoo
- Conditioner
- Lightweight leave-in conditioner
- Curl cream or mousse
- Styling gel
- Spray bottle
- Wide-tooth comb
- Microfibre towel or soft cotton T-shirt
- Hairdryer with diffuser
- Satin or silk bonnet/pillowcase
If you’re unsure which styling product would work best, see our guide to the Best Products for Pixie Cuts.
How to Style a Curly Pixie Cut at Home in 8 Steps
Step 1: Start with Clean, Damp Hair
Curly hair is generally easiest to shape when it is damp.
Wash your hair using products appropriate for your scalp and curl type, then apply conditioner as needed.
After rinsing, gently remove excess water.
Avoid aggressively rubbing your curls with a towel. The friction can disturb the curl pattern and contribute to frizz.
Instead, gently squeeze or blot the hair using a microfibre towel or soft cotton T-shirt.
Your hair should still be damp when you begin styling.
Video opportunity
This is a good point to embed a short video showing:
Freshly washed pixie → damp hair → ready for styling.
Step 2: Add Moisture If Your Hair Needs It
Not every curly pixie needs a separate leave-in conditioner.
If your hair tends to feel dry, however, a small amount of lightweight leave-in product can help make the curls easier to manage.
Start with very little.
Short hair requires much less product than long hair, and applying too much can quickly make a pixie appear flat or greasy.
Work the product gently through the hair rather than concentrating everything directly on the roots.
Step 3: Apply Your Curl Styling Product
Now choose your main styling product.
For softer definition, you might use curl cream.
For additional volume, try mousse.
For stronger definition and hold, consider gel.
Some curly hair routines combine products, but don’t assume that more products automatically produce better curls.
Start simple.
Apply a small amount evenly through your damp hair.
Use your fingers to encourage curls into their natural shape.
Fine curly hair
Try a lightweight mousse or light curl product that won’t easily weigh down the hair.
Thick curly hair
A curl cream or gel may provide more control and definition.
Coily pixie
Your hair may benefit from additional moisture combined with a product that provides definition and hold.
Step 4: Define Individual Curls
This is where you can begin shaping the finished pixie.
Instead of treating every curl identically, pay attention to the areas that frame your face.
Use your fingers to:
- Separate curls
- Twist selected curls
- Encourage curls around the fringe
- Lift curls at the crown
- Direct curls away from or towards your face
- Smooth shorter sections around the sides
For particularly stubborn curls, try finger coiling.
Take a small section and wrap it around your finger in the direction the curl naturally wants to move. Release it carefully and allow it to retain its shape.
You don’t need to finger-coil your entire head.
Often, defining only the most visible curls around the front and crown is enough.
Step 5: Decide Where You Want the Volume
This is one of the most important steps when styling a pixie.
Don’t simply create maximum volume everywhere.
Think about the silhouette you want.
For more height
Concentrate volume around the crown.
This can work particularly well if you’re styling a pixie for a round face, where additional height can create a more elongated overall silhouette.
For a softer shape
Allow the curls to sit naturally around the sides with moderate crown volume.
This can work beautifully with an oval face.
For an edgy pixie
Keep the sides controlled while creating stronger texture and height through the top.
Your haircut should provide most of the basic structure. Styling simply enhances it.
Step 6: Air-Dry or Diffuse
You now have two main options.
Air-Drying a Curly Pixie
Air-drying is the simplest approach.
Once you’ve positioned your curls, try not to keep touching them while they dry.
Constantly manipulating partially dried curls can disturb their shape and increase frizz.
Allow the hair to dry fully before making final adjustments.
Diffusing a Curly Pixie
A diffuser can help if you want faster drying or additional volume.
Attach the diffuser to your hairdryer and use an appropriate heat and airflow setting for your hair.
Rather than blasting the curls from above, gently position sections around the diffuser.
For additional root volume, lift the hair around the crown while drying.
Move gradually around the head.
The goal is to dry the curls while disturbing them as little as possible.
Step 7: Let Your Hair Dry Before Breaking the Cast
If you’ve used gel, your curls may feel slightly hard or crunchy once dry.
This isn’t necessarily a problem.
Some gels create what is commonly called a cast around the curl while drying.
Once your hair is completely dry, gently scrunch the curls with your hands to soften the cast.
This can leave the curls feeling softer while retaining definition.
Don’t do this too early.
Breaking the cast while the hair is still damp can encourage frizz.
Step 8: Shape and Finish Your Pixie
Now look at the overall shape rather than individual curls.
Use your fingertips to gently:
Lift the crown if it looks flat.
Separate a few curls if sections appear too compact.
Position the fringe around your forehead.
Adjust the side part if necessary.
Smooth the sides if you want a more tapered appearance.
You can use a tiny amount of finishing product if necessary, but don’t automatically add more.
Your curly pixie is now styled.
Quick Curly Pixie Routine
If you don’t want an elaborate morning routine, simplify everything.
Wash/condition → apply curl product → shape → diffuse or air-dry → fluff when completely dry.
That’s enough for many curly pixies.
The exact technique matters more than using six different products.
How to Style a Curly Pixie for More Volume
If your pixie tends to sit flat, concentrate on what happens at the roots.
Apply your volumising product sparingly and avoid loading the roots with heavy creams.
While diffusing, gently lift sections around the crown.
Once the hair is completely dry, place your fingertips near the scalp and lightly lift the roots without pulling apart all your defined curls.
A side part can also instantly change the distribution of volume.
Remember that your haircut itself matters. If your hair consistently refuses to create the shape you want, speak to your stylist about whether the layering needs adjusting.
How to Style a Curly Pixie with Bangs
Curly bangs can completely change a pixie.
Start by styling the fringe while it is damp rather than waiting until the rest of your hair has dried.
Encourage individual curls into position with your fingers.
If necessary, finger-coil two or three prominent curls around the forehead.
Then leave them alone while they dry.
Remember that curly hair can appear considerably shorter when dry, so avoid stretching or cutting the fringe based only on how it looks when wet.
If you’re considering adding a fringe, explore our dedicated Pixie with Bangs guide for more hairstyle ideas.
How to Style a Curly Pixie for Fine Hair
Fine curly hair needs definition without excessive weight.
Try keeping your routine minimal:
Light conditioner → mousse or lightweight curl product → diffuse → gently lift roots.
Avoid layering several heavy products unless your hair genuinely needs them.
If your curls repeatedly collapse, experiment with using less product before assuming you need more.
Our Pixie for Fine Hair guide explores haircut choices for finer hair in more detail.
How to Style a Curly Pixie for Thick Hair
Thick curly hair often presents the opposite challenge.
You may already have plenty of volume and instead want more shape and definition.
Apply your styling product evenly and spend a little more time defining the visible curls around the front and crown.
A well-shaped tapered or layered pixie can also prevent too much bulk accumulating around the sides.
For haircut ideas, see our Pixie for Thick Hair guide.
How to Refresh a Curly Pixie the Next Morning
You don’t necessarily need to wash and completely restyle your pixie every morning.
After sleeping, first inspect your hair.
Some areas may still look perfectly good.
Focus only on the sections that need attention.
Simple morning refresh
Lightly mist flattened curls with water.
Use your fingers to reshape them.
If necessary, add a tiny amount of curl product.
Finger-coil stubborn sections.
Allow them to air-dry or use your diffuser briefly.
Then fluff the crown.
This can take only a few minutes.
How to Protect a Curly Pixie Overnight
Short hair can still become flattened while you sleep.
A satin or silk pillowcase can reduce friction compared with some rougher fabrics.
Depending on your hairstyle and hair type, you might also prefer a satin or silk bonnet.
The following morning, don’t immediately soak your entire head.
Try fluffing the roots and refreshing only the curls that lost their definition.
How to Fix a Flat Curly Pixie
Waking up with one completely flattened side is a familiar problem with short curls.
Fortunately, it’s usually easy to correct.
Mist the flat section with water until it becomes slightly damp.
Use your fingers to reactivate the curl pattern.
Add a tiny amount of product if necessary.
Then diffuse the section while lifting it away from the scalp.
Avoid applying lots of dry product directly onto flattened hair. Reintroducing a little moisture usually makes reshaping curls easier.
How to Reduce Frizz in a Curly Pixie
A little frizz is completely normal with textured hair, and you don’t need perfectly uniform curls.
However, if you’re trying to achieve greater definition, a few changes may help.
Avoid repeatedly touching the hair while it dries.
Apply your styling products while the hair is still damp.
Experiment with gel if your current product doesn’t provide enough hold.
Don’t aggressively towel-dry the curls.
Avoid repeatedly brushing dry curls unless that’s intentionally part of the style you’re creating.
Most importantly, remember that defined curls and completely frizz-free hair aren’t the same thing.
Natural texture doesn’t need to look perfectly controlled to look good.
How to Style a Curly Pixie Without Heat
You don’t need a diffuser every time.
For a heat-free routine:
- Start with damp hair.
- Apply your curl product.
- Finger-shape the curls.
- Position your fringe.
- Lift the crown gently.
- Allow the hair to air-dry completely.
- Fluff and separate once dry.
The disadvantage is simply time.
If your curls take a long time to dry, plan accordingly rather than going to bed with very wet hair.
How to Get a Messy Curly Pixie Look
A messy pixie shouldn’t necessarily mean completely uncontrolled hair.
Start by defining your curls normally.
Once completely dry, gently separate selected curls and lift the roots.
Direct a few pieces in different directions to create movement.
The key is controlled imperfection.
You want the hairstyle to appear relaxed and textured rather than simply unfinished.
Curly Pixie Styling by Face Shape
Your face shape doesn’t dictate what hairstyle you’re allowed to wear, but you can use styling to change the overall silhouette.
| Face Shape | Styling Idea |
|---|---|
| Round | Crown height, side part, controlled sides |
| Oval | Experiment with most volume placements |
| Square | Softer curls around the hairline |
| Heart | Curly fringe or softer side volume |
| Long | Avoid excessive crown height if you don’t want additional length |
For more detailed inspiration, explore our guides to Pixie for Round Faces and Pixie for Oval Faces.
5 Easy Curly Pixie Styles to Try at Home
Once you’ve mastered the basic routine, you can create several looks from the same haircut.
1. Natural Defined Curls
Apply curl cream or gel and allow the natural curl pattern to become the main feature.
2. Deep Side Part
Move your part noticeably to one side and allow the heavier section to create additional volume.
3. Curly Fringe
Bring several curls forward and define them individually around your forehead.
4. Voluminous Crown
Lift the roots while diffusing and keep the sides relatively controlled.
5. Tousled Pixie
Start with defined curls, then gently separate and loosen selected sections once completely dry.
This section would work particularly well as a five-slide Pinterest carousel or Instagram carousel.
Common Curly Pixie Styling Mistakes
Using Too Much Product
Short hair requires surprisingly little.
Start small and add more only when necessary.
Touching Your Curls While They Dry
Repeated handling can break up curl clumps and increase frizz.
Applying Heavy Product at the Roots
This can remove volume and make the hair look oily.
Diffusing Too Aggressively
Strong airflow can disturb curls before they have set.
Trying to Make Every Curl Identical
Natural curls vary. Perfect uniformity isn’t necessary.
Ignoring the Haircut
Styling becomes much easier when the underlying haircut works with your natural texture.
How Often Should You Restyle a Curly Pixie?
There’s no universal schedule.
Some people prefer styling after every wash, while others can refresh their curls for several days.
Factors include:
- Curl pattern
- Scalp oiliness
- Exercise
- Product buildup
- Weather
- Hair density
- Sleeping habits
- Desired level of definition
Rather than following someone else’s routine exactly, learn how your own hair responds.
Frequently Asked Questions
How do you style a curly pixie cut at home?
Start with damp hair, apply a lightweight curl product, shape the curls with your fingers and then air-dry or diffuse. Once completely dry, gently separate and position the curls to create your preferred shape.
What should I put on a curly pixie?
Depending on your hair type, you may benefit from curl cream, mousse or gel. Dry curls may also need leave-in conditioner. Avoid automatically using several products together.
How do I make my curly pixie look good in the morning?
Try refreshing only the flattened areas with a little water. Reshape the curls with your fingers and diffuse briefly if necessary.
How do I get more volume in my curly pixie?
Avoid heavy products around the roots, lift the crown while diffusing and gently fluff the roots once the hair is completely dry.
Can I air-dry a curly pixie?
Yes. Apply your styling product and position the curls while damp, then avoid unnecessary touching until the hair has completely dried.
Should I brush a curly pixie?
This depends on your curl pattern and desired style. Many people detangle curly hair while damp rather than brushing defined curls once dry.
How do I stop my curly pixie becoming frizzy?
Handle the curls gently, avoid repeatedly touching them during drying and use a styling product with enough hold for your texture.
How do I sleep with a curly pixie?
A satin or silk pillowcase or bonnet may help reduce friction. In the morning, refresh only the areas that have flattened.
Can I style a curly pixie without heat?
Yes. Apply your products to damp hair, shape the curls and allow them to air-dry naturally.
How long does it take to style a curly pixie?
Hands-on styling can be relatively quick, but drying time varies significantly depending on hair density, curl type and whether you air-dry or diffuse.
Create a Curly Pixie Routine That Works for You
Learning how to style a curly pixie cut at home is mostly about understanding your own curls.
You don’t need to recreate a salon finish every morning.
Start with damp hair, use only the products your curls genuinely need, define the areas that matter most and choose between air-drying and diffusing.
Once you’ve found a routine that works, keep it simple.
And if you’re looking for your next haircut or want to experiment with a different pixie shape, explore our complete Short Curly Pixie Hairstyles: The Ultimate Guide for more styles, maintenance advice and inspiration.